What you'll need:
Topping:
5 tablespoons unsalted butter, plus a little more for greasing
1 cup blackberries
2 tablespoons sugar
1 tablespoon fresh lemon juice
1/2 cup packed, dark brown sugar
3/4 cup walnuts, coarsely chopped
Buns:
Gluten Free Bisquick Mix (you will need 3 eggs, milk, and shortening)
2 cups blackberries, halved
sugar
cinnamon
brown sugar
gluten free flour for "rolling"
Directions:
Grease 12-cup (or two 6-cup) muffin tins with butter. Preheat oven to 400 degrees.
Make topping:
1. Combine 1 cup blackberries, 2 tablespoons sugar, and 1 tablespoon lemon in a bowl. Let it soak/sit for 30 minutes. (For the lemon juice, I used fresh - buy one large lemon and cut in half, squeeze into a tablespoon, fishing out seeds as necessary.)
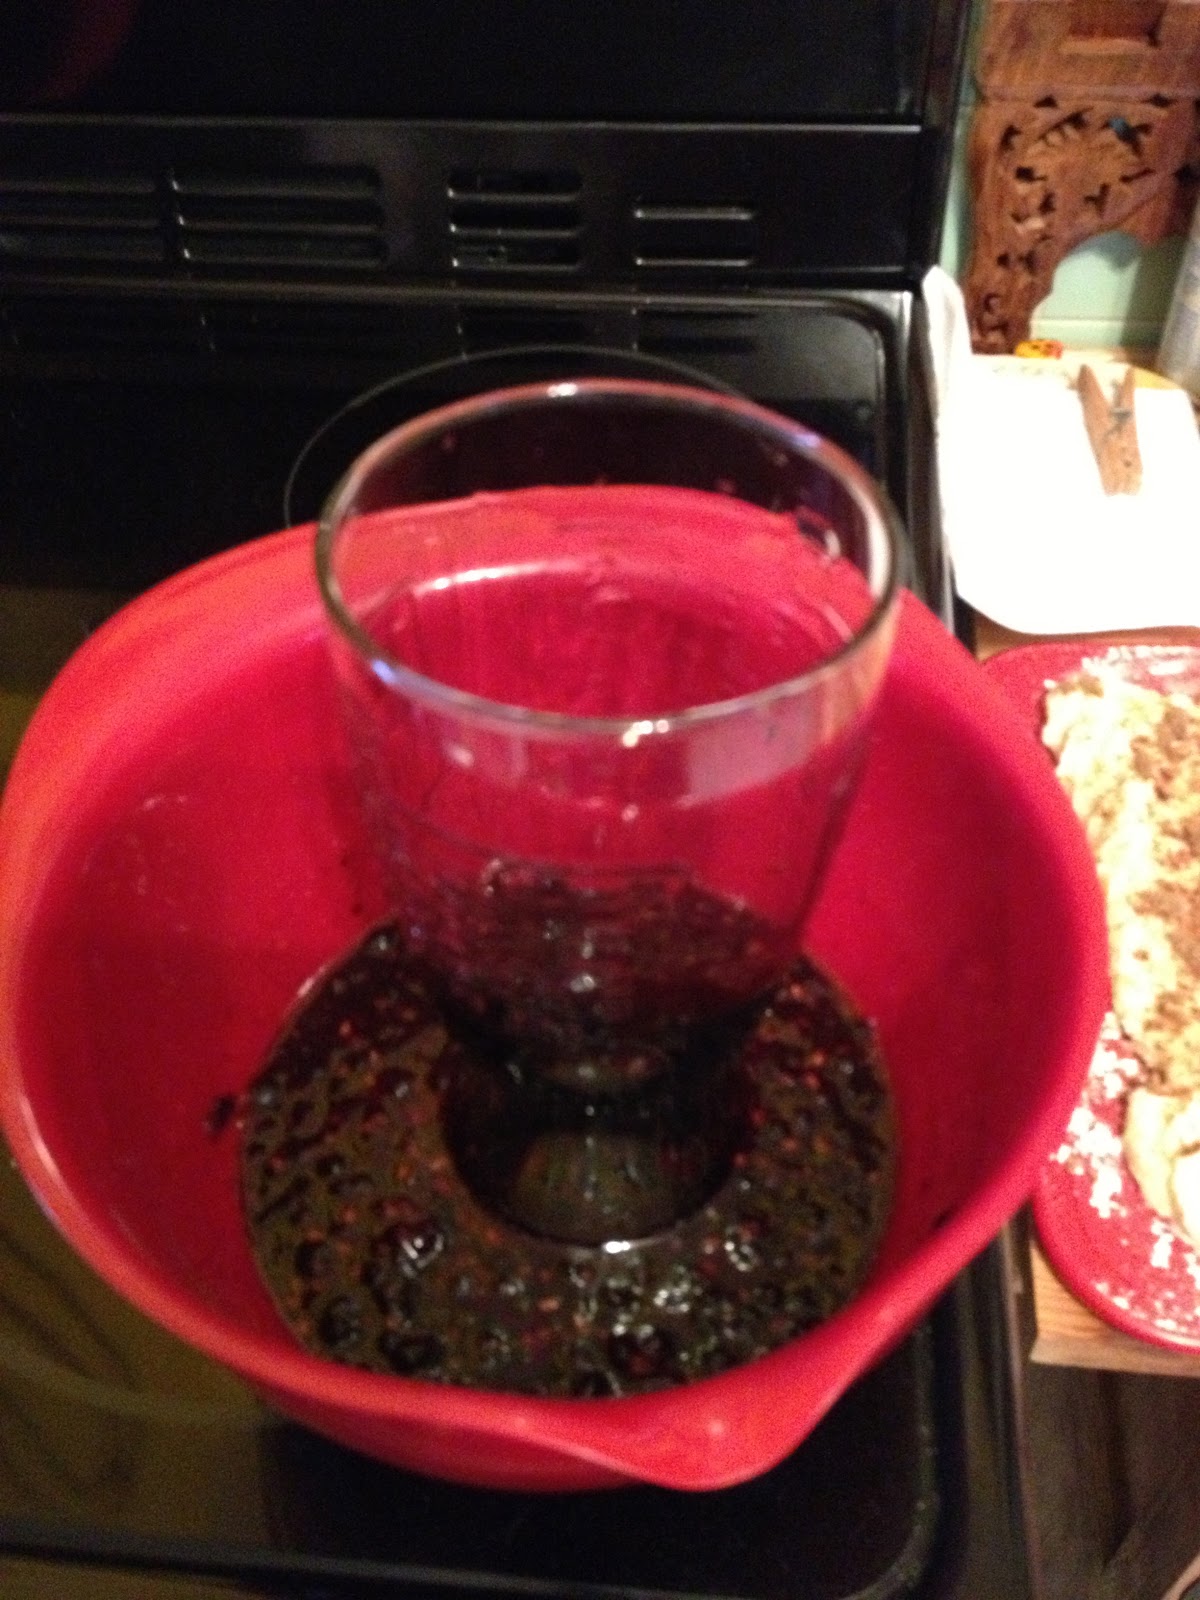
2. After 30 minutes, mash it up. You could use a fork, or you could get creative like me and use a retro glass. Strain the juice into a small bowl and throw away (or eat?) the solids.
4. Divide into the muffin cups.
5. Add coarsely chopped walnuts.

6. Set aside.
For the buns:
1. Follow the directions on the package to make gluten free Bisquick biscuits.
2. Roll the dough out onto a floured flat surface. This is the fun and messy part. If you've worked with this dough at all, you know it doesn't really roll all that well. So, flour a flat surface, like a cutting board, and sort of spread the dough out with your fingers. Thickness doesn't really matter, you just want flat.
3. Sprinkle sugar, cinnamon, and brown sugar over the dough.

4. Sprinkle the halved blackberries onto the dough.
5. With your fingers, scoop up equal parts of the dough, roll it up to sort of form biscuit like balls, and put into the muffin cups.


7. To remove from muffin pan, a serving spoon works best. The "buns" will seem mushy at first but they're definitely not. Plate them upside down, so the gooey nut mixture is on top.


No comments:
Post a Comment